
Your iPhone XR camera is a powerful tool that can help you take stunning photos and videos. However, if you’re not familiar with all the camera settings and features, you might not be getting the most out of your device. In this article, we’ll guide you through the step-by-step process of setting up your iPhone XR camera like a pro.
What’s New with iPhone XR Camera?
Before we start, let’s take a look at some of the new features on the iPhone XR camera:
Portrait Mode
The Portrait mode on the iPhone XR camera is impressively good. It’s one of the best portrait modes on any smartphone camera in the market today. The iPhone XR comes with a single-lens camera, but the Portrait mode on the phone creates blurred out backgrounds – a feature usually only seen on dual-camera set-ups.
Smart HDR
The smart HDR feature was introduced with the iPhone XR. It’s a feature that lets you take pictures with a wider dynamic range – the range between the brightest and darkest parts of a photo. This makes your pictures look more realistic and pleasing to the eyes.
How to Setup Your iPhone XR Camera
1. Update Your Device
The first step to setting up your iPhone XR camera is to update your device to the latest version of iOS. Some camera features and settings might not work properly with older versions of iOS.
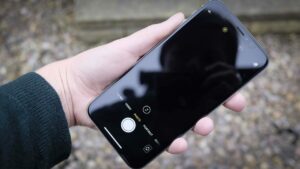
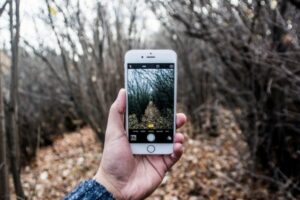
2. Launch the Camera App
Once you’ve updated your device, launch the camera app and familiarize yourself with the camera interface. The interface is simple – you have the capture button in the middle, the modes on the bottom, and the settings on the top.
3. Choose Your Camera Mode
The camera app comes with several modes to choose from. Tap on the mode that you want to use – Photo, Portrait, Video, Slo-Mo, or Time-Lapse.
4. Adjust Camera Settings
Once you’ve chosen your mode, tap on the settings icon on the top right corner of the screen. You’ll see various camera settings that you can adjust, such as flash, timer, and live photos.
5. Turn on Smart HDR
Smart HDR is a great feature that helps you take better pictures with a wider dynamic range. To turn on Smart HDR, go to Settings > Camera, and toggle on the Smart HDR option.
6. Use the Grid Lines
Grid lines help you take better-angled shots. To turn on the grid lines, go to Settings > Camera and toggle on the Grid option.
7. Use the Rule of Thirds
The rule of thirds is a common photography guideline that helps you take better composed shots. To follow the rule of thirds, place your subject at one of the four intersecting points on the grid lines.
8. Use the Exposure Control
The iPhone XR camera comes with an exposure control feature that lets you manually adjust the brightness of your photos. To use the exposure control, tap on the screen and drag the exposure slider up or down.
9. Increase Zoom Level
The iPhone XR camera comes with a 5x digital zoom feature that lets you get closer to your subject. To increase the zoom level, pinch in or out on the screen.
Conclusion
Setting up your iPhone XR camera is not rocket science. With the steps we’ve outlined in this article, you can take your photography skills to the next level. Whether you’re a professional photographer or a casual snapper, these tips will help you capture stunning photos and videos with your iPhone XR camera. Happy shooting!


Be First to Comment